
The serve is one of the most fundamental and strategic shots in tennis. A good serve can not only give you the advantage at the start of a point, but can also put your opponent under pressure. To maximise the effectiveness of your serve, it’s essential to master every component of the service technique, from the momentum to the strike, via ball placement and rotation. Whether you’re looking to improve the power of your serve or develop variations to destabilise your opponents, understanding the mechanics of this stroke is crucial.
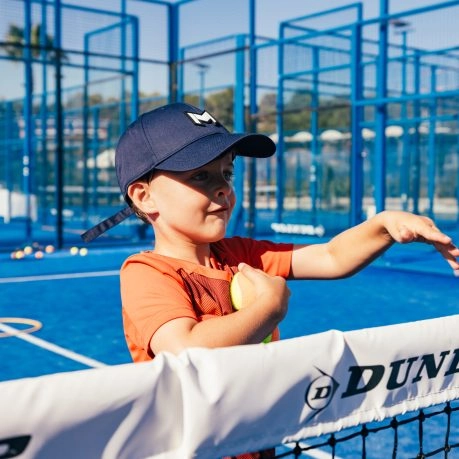
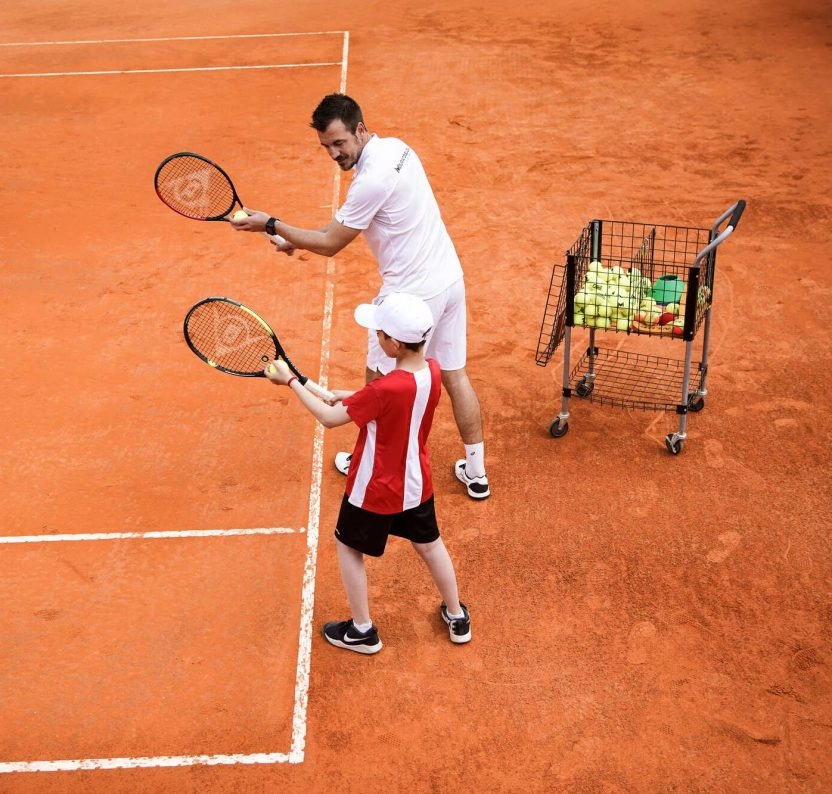
In this article, we’ll look at the key elements to perfecting your tennis serve, giving you tips and tricks to maximise your effectiveness on the court. Improve your serve with intensive tennis training from the Mouratoglou Academy
1. The starting position: the foundations of a good service
The starting position is one of the first steps to master. A good position allows you to remain balanced while being ready to execute a fluid and powerful movement.
- Foot placement: Place your front foot (usually your left foot if you’re right-handed) parallel to the baseline, angled slightly inwards. Your back foot should be in line with or slightly behind the front foot, forming a solid base for the drive.
- Posture: Your body should be relaxed but ready to explode. Keep your knees slightly bent and make sure you stay on the balls of your feet to make it easier to shift your weight forward during the run-up.
2. Throwing the ball: crucial precision
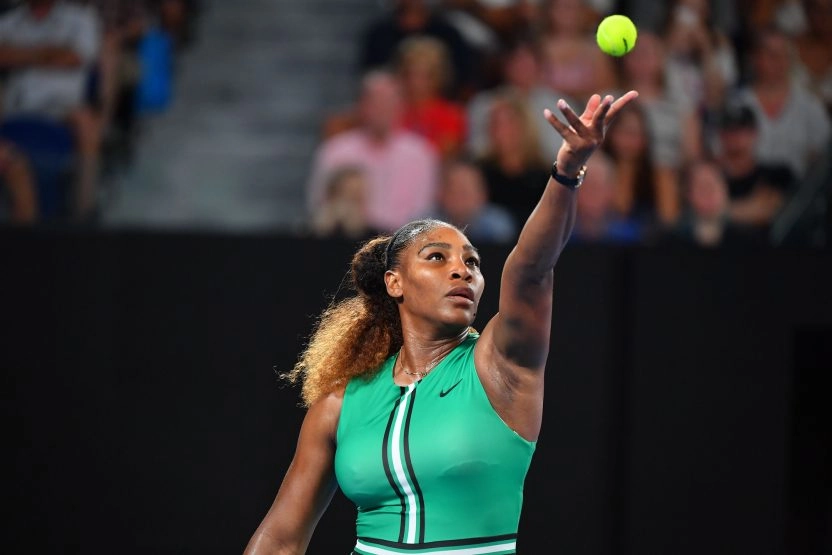
A good shot is one of the key elements of an effective serve. If your delivery is irregular or badly placed, it will affect your ability to hit the ball optimally.
- Height and placement: The ball should be thrown high enough to allow you to attack it at maximum extension. For a flat serve, throw it slightly in front of you, whereas for a kick or slice serve, the ball should be more to the side or slightly behind you.
- Fluidity of movement: The throw should be fluid and regular. Avoid sudden movements or last-second adjustments that could unbalance your posture.
3. The swing and preparing to strike
The swing is where you generate the power you need for your serve. It involves preparing your body to transfer energy from your legs and trunk to your arm.
- Weight shift: Before you throw the ball, shift your weight slightly to your back foot, then, as you raise the arm holding the ball, transfer that weight forward.
- Non-dominant arm coordination: Your non-dominant arm plays a crucial role in stabilising your body and guiding the ball. Keep it straight up before lowering it naturally as you start to hit.
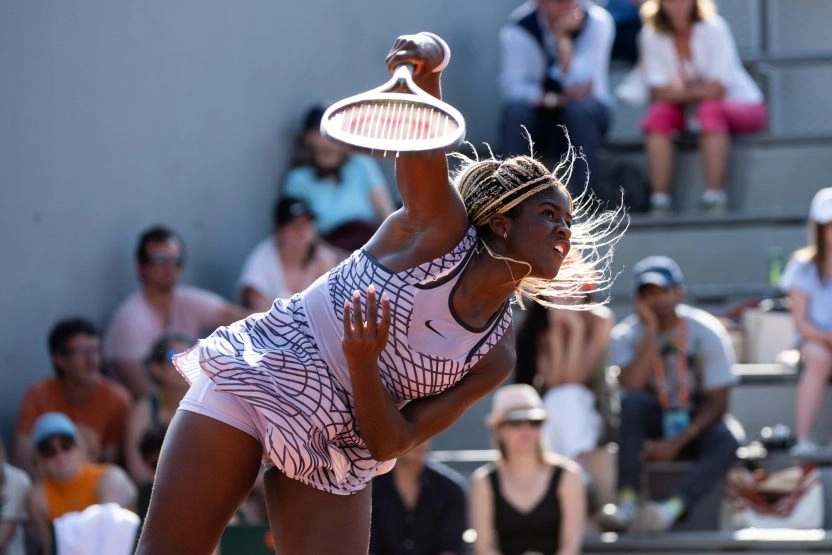
- The arched back: As the ball rises, arching your back slightly helps to generate more power at impact. It also allows you to better coordinate the action of your legs and arm to hit at maximum extension.
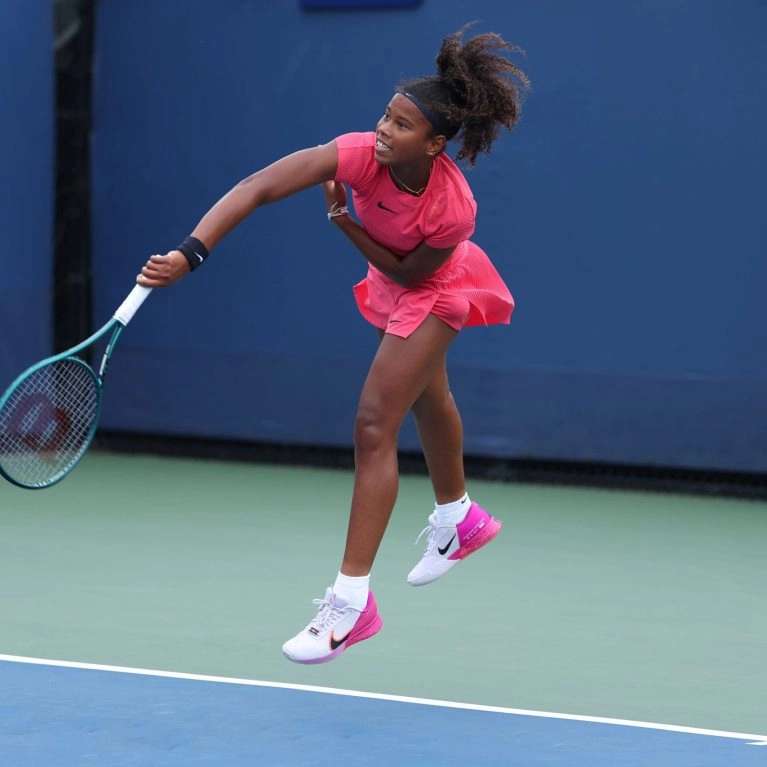
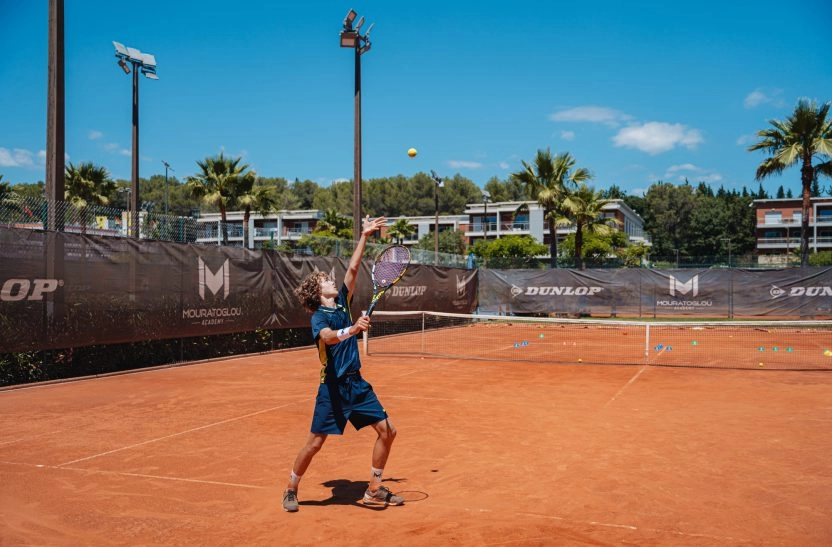
4. Impact and striking
The shot is the highlight of the serve. It’s essential to understand how to hit the ball depending on the type of serve you want to execute (flat, slice or lift).
- Flat serve: For a flat serve, the aim is to hit the ball at full extension and directly, without too much spin. This type of serve favours raw power. Place the ball slightly in front of you and hit with the racket head pointing upwards and in line with the ball.
- Sliced serve: The sliced serve consists of giving the ball sideways spin, making it deflect to the side after the bounce. To do this, hit the ball sideways, sliding the racket slightly outwards. This allows you to destabilise your opponent by forcing him to adjust his placement.
- Lifted serve: This serve is particularly useful for getting a higher bounce, which can make the ball difficult to return. Hit the ball by brushing it from bottom to top, creating a lifted effect that will increase the height of the bounce.
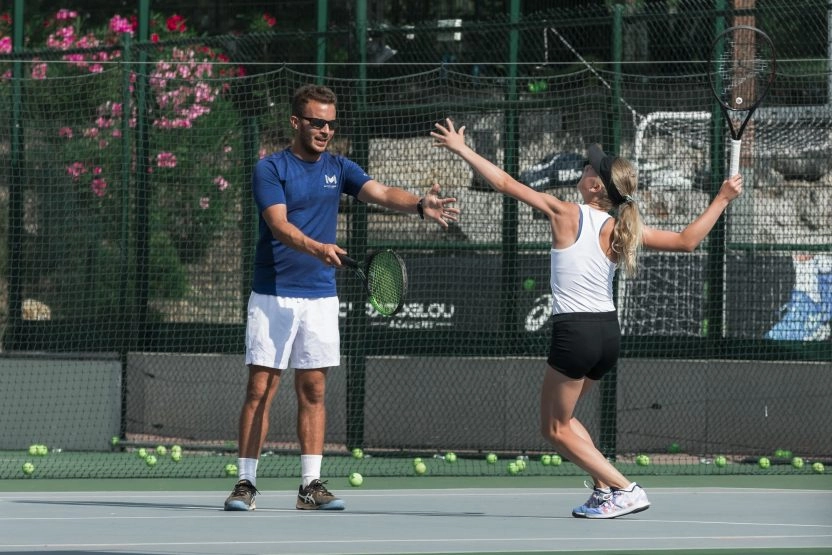
5. Strike tracking and recovery
Shot tracking is as important as the shot itself, as it ensures that your movement remains fluid and controlled. What’s more, it allows you to reposition yourself quickly for the next shot.
- Keep moving: After hitting the ball, let the racket continue its natural forward motion. A good follow-through helps maintain balance and avoid shoulder or wrist injuries.
- Quick repositioning: As soon as the racket finishes moving, be ready to react to your opponent’s return. Immediately return to the waiting position, legs bent and racket in hand, to be ready to play the point.
6. Tips for perfecting your service
Improving your serve isn’t just about technique; you can also incorporate strategies to make it even more effective and difficult for your opponent to read.
- Vary your serves: Don’t always use the same type of serve. Alternate between flat serves for power, slice serves to keep your opponent off the court and lift serves to increase the bounce. This makes your game unpredictable.
- Place your serves: Don’t always aim for the same area of the court. Vary between outside serves and serves into your opponent’s body to force him to adjust his movements. Good placement can compensate for a less powerful serve.
- Work on consistency: One of the most important elements of a good serve is the ability to repeat movements with regularity. Practise throwing the ball and coordinating your movements to improve your consistency.
Conclusion
Service technique is an essential aspect of tennis that can greatly influence the course of a match. By mastering each component – from the starting position to the follow-through – and incorporating variations to surprise your opponents, you can improve your serving performance and gain an advantage from the start of the point. Whether you’re looking to increase power or develop specific spin, the key is regular practice and attention to detail.